Thank you for participating with the iZ3D/MTBS CG Graphics Stereoscopic 3D Photo contest. This is your chance to take your virtual 3D art, and let people see it in TRUE 3D!
More likely than not, your work is being rendered in volumetric 3D that is shown on a 2D display. This contest is focused on stereoscopic 3D which means your images are shown on true 3D media including 3D monitors, HDTVs, projection screens, and more. To accomplish this, you will need your CG art submitted as two unique images that were captured from two different camera or viewpoint positions.
However, that’s not where it ends! The S-3D is part of the art itself and your work will be judged on its effective use of stereoscopic 3D. Is the S-3D complementing the art somehow? Are you evoking a mood or reaction from your work? Is it a comfortable experience? These are all factors worth considering.
This guide is a beginners’ level guide, and just gives quick instruction on how to create a left and right image pair for stereoscopic 3D viewing. If the instructions are followed correctly, your art or characters should look the way they would if viewed by a natural pair of eyes through a 22” monitor sized window.
7 Quick Steps to Capturing S-3D Images
At the most basic level, your brain takes a different image from each of your eyes and forms a stereoscopic 3D picture complete with volumetric depth. The Stereoscopic 3D Image Capture Map shown below demonstrates the S-3D image capture process.
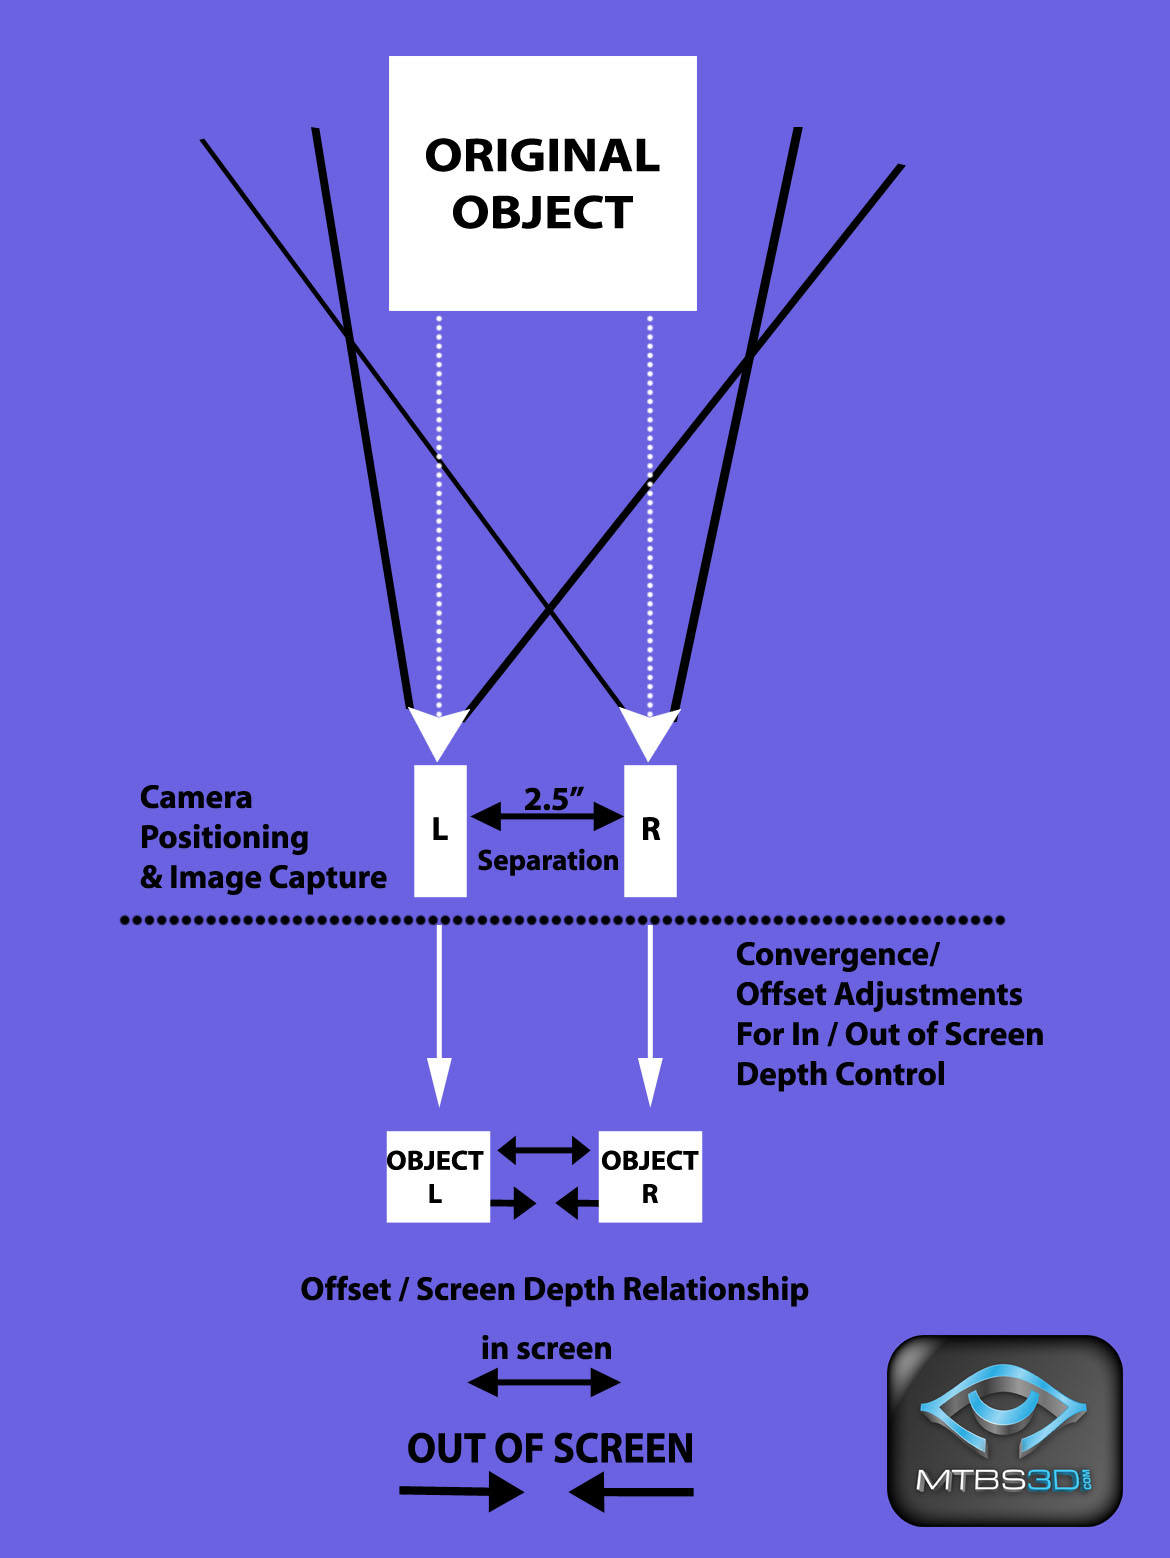
The Stereoscopic 3D Image Capture Map
This map is explained more in the advanced version of this guide. For now, only focus on details above the horizontal dotted line.
Follow these steps to capture a left and right image pair for stereoscopic 3D viewing:
I. In your CG Application, create two unique viewpoints or cameras that are 2.5 inches apart and at the virtual distance you would expect human eyes to be viewing it. 2.5 inches is the average distance between a human’s eyes, and the gap between the cameras is called the “separation”. The cameras must be parallel and facing 100% forward or straight north. Never “toe-in”, or angle your cameras inwards as this will create visual distortions.
II. Try to create a virtual window between your cameras and your object with the dimensions of a 22” 16:10 aspect monitor. This window should not appear in your capture, but will be a reference tool to determine if your cameras are appropriately close or far from the object. The window must not be seen in your capture, so you may have to delete it once you are done with your adjustments. This window is not featured on the Stereoscopic 3D Image Capture Map shown above.
III. Save each camera image independently from each other in the same resolution and color depth. We require resolutions no less than 1680X1050 per camera, with a 16:10 aspect ratio. Make sure you label each image filename with an “L” or “R” to indicate if it’s a left or right sided image. If the images get accidentally reversed, this creates visual problems!
IV. We recommend downloading and running the free stereo photo maker HERE[/b] because it will make your job easier.
V. In the stereo photo maker software, load the images as a “left” and “right” sided image by choosing “Open Left/Right Images” from the file menu and using your images labeled “L” and “R”.

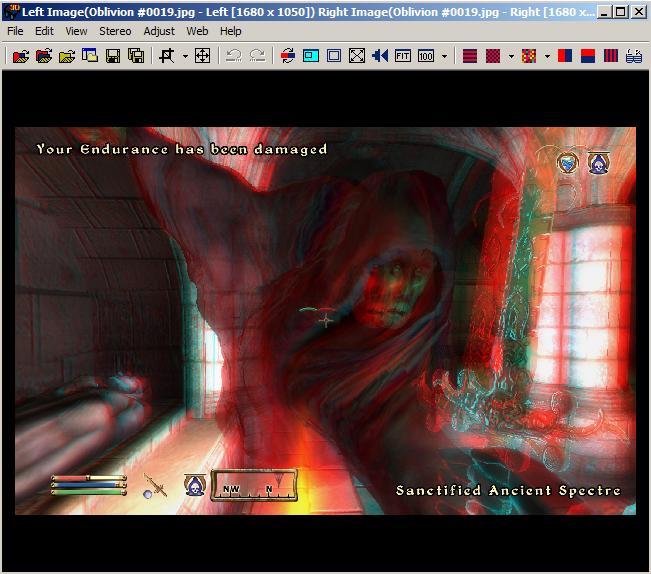
VI. If you don’t yet own a stereoscopic 3D hardware solution, you can buy an inexpensive pair of anaglyph (red/blue) glasses. Anaglyph is the worst way to view S-3D photographs, but this is just a quick test to determine if your image looks ok. In the “Stereo” menu option, choose “Anaglyph” (F7 key), and you will be able to view your image in red/blue format.
VII. When you are happy with the results, make sure you are in “Side by Side” viewing in the “Stereo” menu option, and save your image in the File submenu by selecting “Save Stereo Image”. Make sure the image is saved in full color and not red/blue anaglyph!
Image Backgrounds
If you want to add a background for your image, you must render it as an object in your scene. For example, if you want to render a back wall, you need to lay out your objects, place a wall at the appropriate distance behind them, and capture all the elements in a single step. If you try to add the wall separately as an add-on 2D object, your entire scene depth will be incorrect.
Avoid trying to render 2D terrain as a background for your objects. For example, mountains will only look like mountains if they are indeed rendered and captured in 3D.
Final Remarks
Submit the side by side image as a single 24 bit BMP file. If the image is correctly recorded, it should be double the width, but the same height as a single camera image. For example, if each camera is recorded at 1680X1050 pixels, the submitted file should be 3360X1050 in size.
For a more advanced understanding and control of stereoscopic 3D image captures, please read our Advanced guide HERE[/b].
Special thanks go to John Merritt and Oleg Tishutin for their assistance in making this guide possible.
Be sure to visit our main site at http://www.mtbs3d.com[/b] to get the latest news and information on consumer stereoscopic 3D technologies and play a part in shaping our industry!
Read full article...